

How To Upload Logo To Shopify
How to customize your Shopify email templates

In this article nosotros will larn how to use custom HTML email templates with Shopify.
When you ready up a Shopify store they automatically send a handful of emails out of the box for orders, shipping, client support and notifications. The default email templates that Shopify provide look pretty expert. Although there are a number of reasons y'all're going to want to customize these.
- To lucifer your brand
- To be consistent with other emails you're sending from other ESPs
- To amend the pattern and UX of the default templates
- To customize the content that is displayed in the emails
- To take advantage of marketing or conversion opportunities in these transactional emails
Concur up. Earlier we continue, be certain to get your copy of our 10 responsive HTML e-mail templates. Including welcome email, newsletter, onboarding, and more than.
See the email templates
How to use custom HTML email templates for Shopify emailing
You've just got yourself some new HTML email templates. Yous're going to use templates that have inlined CSS and so you know they piece of work across all major email clients. They contain some images like your logo or social media icons.
1. Choose an email template to edit
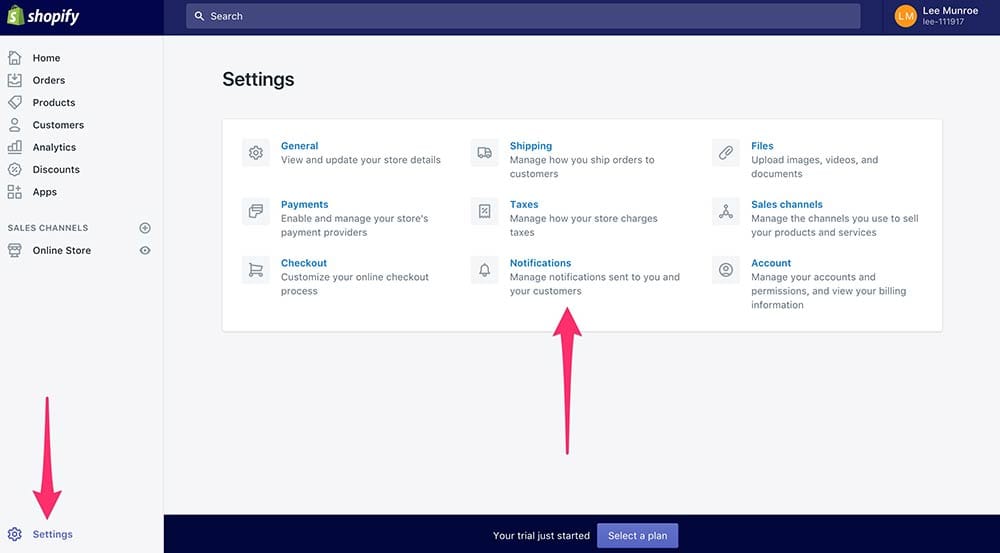
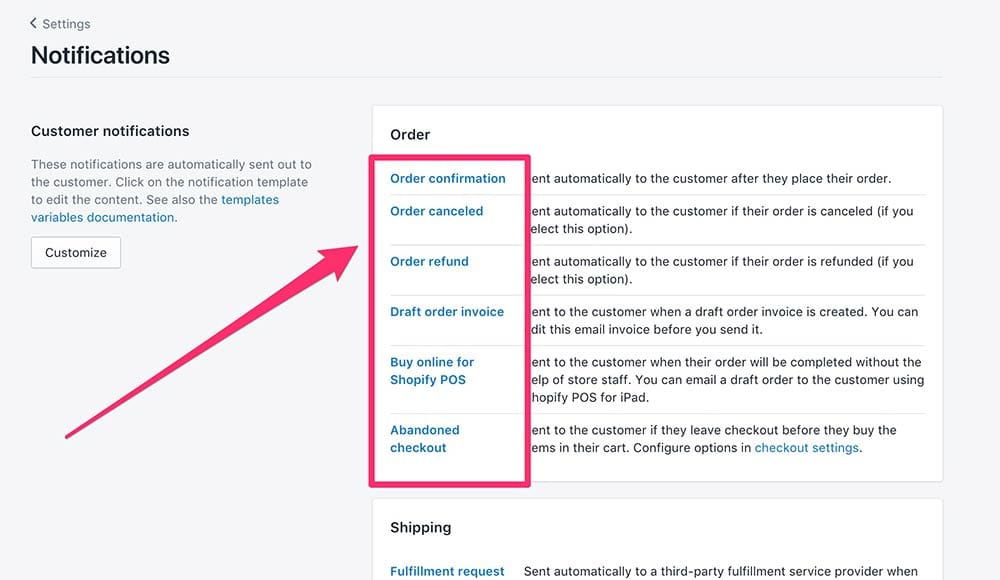
- Go to
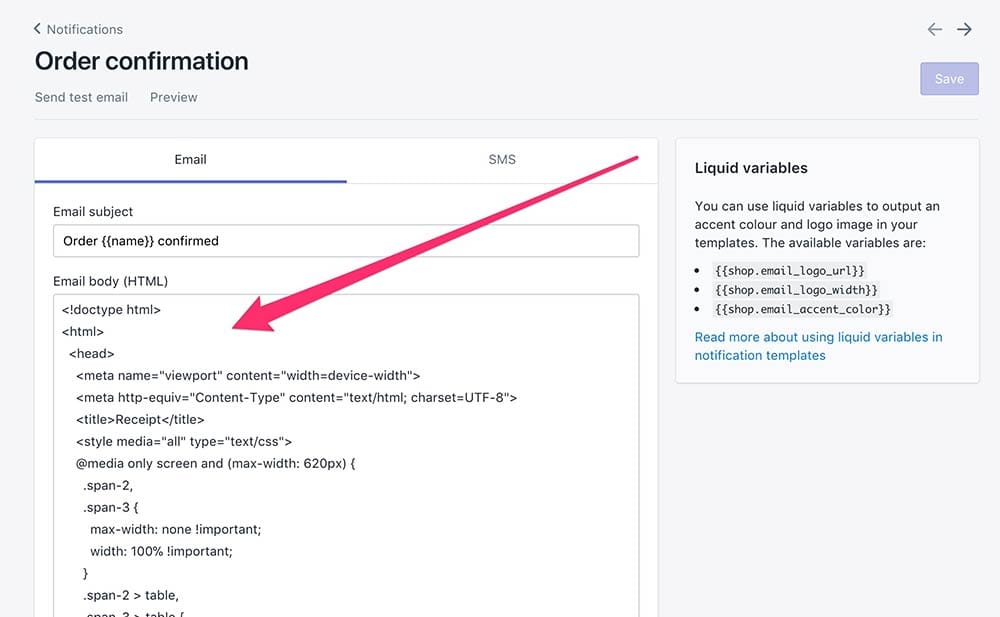
Settings->Notifications - Click on the email you lot want to modify, lets exercise
Order confirmationas an instance - Copy/paste the HTML into your favorite code editor - you can also edit it here in the browser if you adopt but I recommend using your editor
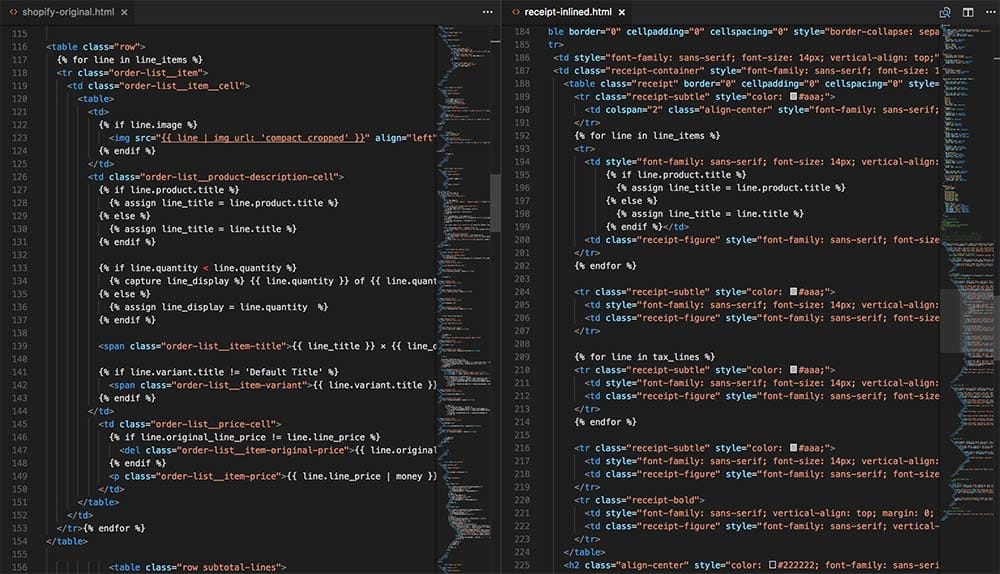
- Open upwardly your new email template (lets employ
receipt-inlined.htmlas an example) in your favorite editor besides so you have this next with the Shopify template for reference
2. Upload the files that y'all demand
Shopify provides a files feature where you can upload images. This is your CDN and where all your files volition be hosted.
- Upload your logo
- Upload your social media icons
- Upload any other images you want to include in your templates
- Open your new e-mail receipt template and replace any image references with the Shopify URLs
- e.g.
img/logo.pngbecomes something similar//cdn.shopify.com/files/1234/logo.png

3. Customize your template and insert the Shopify liquid variables into your template
This is going to be the majority of the task. Referencing the original Shopify template you're going to copy/paste the diverse liquid variables and logic over to your new email template.
- Change preheader text
- Remove unsubscribe link
- Update social icon links
- Update content
- Supervene upon all the user and shop specific variables with liquid variables due east.grand.
{ { order_name } } - Use a
forstatement for your listing of items{ % for line in line_items % }
Here are some code samples.
{% for line in line_items %} <tr> <td way= "font-family: sans-serif; font-size: 14px; vertical-align: top; border-bottom: 1px solid #eee; margin: 0; padding: 5px;" valign= "top" > {{ line.product.title }} </td> <td form= "receipt-figure" manner= "font-family unit: sans-serif; font-size: 14px; vertical-align: top; border-bottom: 1px solid #eee; margin: 0; padding: 5px; text-align: right;" valign= "height" align= "right" > {{ line.line_price | coin }} </td> </tr> {% endfor %} {% for line in tax_lines %} <tr grade= "receipt-subtle" style= "color: #aaa;" > <td way= "font-family: sans-serif; font-size: 14px; vertical-align: pinnacle; border-bottom: 1px solid #eee; margin: 0; padding: 5px;" valign= "elevation" > {{ line.title }} </td> <td class= "receipt-figure" style= "font-family unit: sans-serif; font-size: 14px; vertical-align: top; border-bottom: 1px solid #eee; margin: 0; padding: 5px; text-align: correct;" valign= "pinnacle" align= "right" > {{ line.price | coin }} </td> </tr> {% endfor %} Some liquid variables you lot might desire to employ.
-
{ { order_name } } -
{ { store.url } } -
{ { line.epitome } } -
{ { line.quantity } } -
{ { discount_title } } -
{ { subtotal_price } } -
{ { stotal_price | money_with_currency } } -
{ { shipping_address | format_address } } -
{ { shop.e-mail } } -
{ { transaction.payment_details.credit_card_last_four_digits } }
four. Copy across your email template into Shopify
At this point re-create/paste your electronic mail template code over to Shopify.
Like I mentioned before, you can edit the HTML in the Shopify form, although I have found it much easier to manage this outside of Shopify using my own editor.
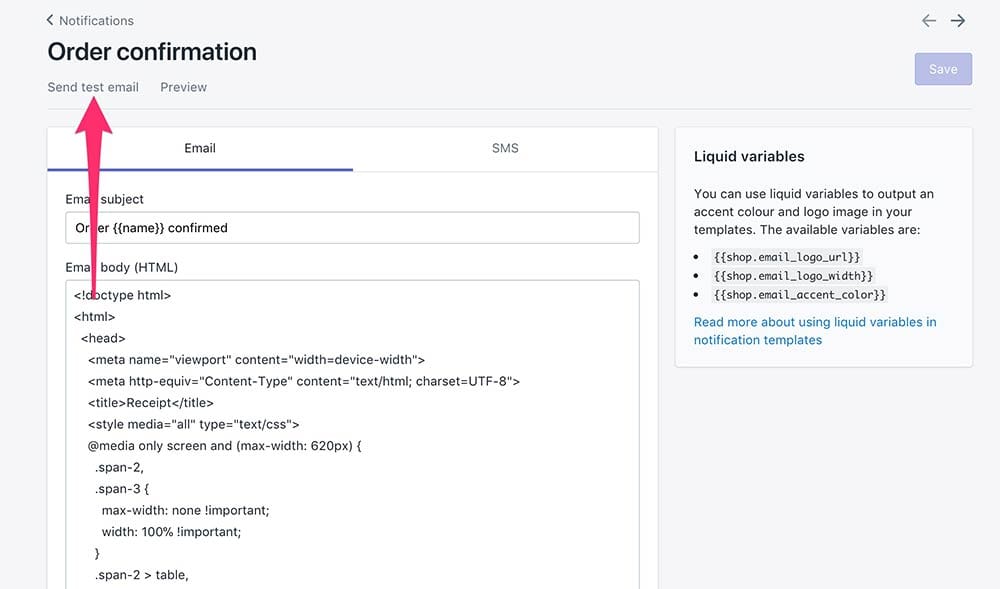
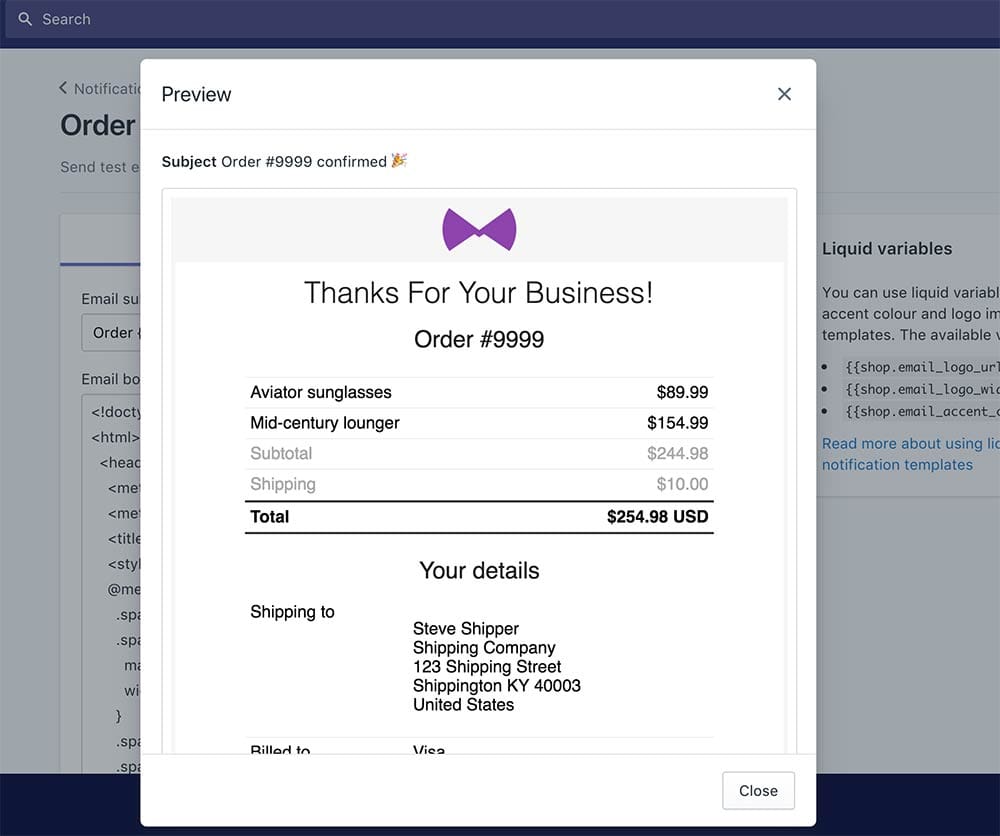
5. Exam your Shopify emails
Shopify provides 2 testing methods. Preview in the browser and email yourself. Attempt both until information technology looks good.
Further reading
- GitHub: Shopify default email notification templates
- Shopify: Edit notification templates
- Shopify: Notification variables
Other email service template tutorials
- Mailchimp
- Customer.io
- SendGrid
Receive email pattern content similar this to your inbox.
No spam. Just related email content.

Source: https://htmlemail.io/blog/email-templates-shopify
Posted by: chungandutimmose1944.blogspot.com
0 Response to "How To Upload Logo To Shopify"
Post a Comment