

How Do I Do Sepia In Photoshop
Why Employ Photoshop to Get the Sepia Effect

Ane nifty thing nigh Photoshop is that y'all tin piece of work on layers for non-destructive editing of your images and go dorsum to the original version whenever you want. Photoshop has many tools to give your image the sepia tone, and you lot tin can choose from the options bachelor based on your requirement. Notwithstanding, Photoshop besides has a sepia filter that can assistance you get the job done quickly and more easily.
Suggested Read: How To Remove Shadows In Photoshop
Means to Add a Sepia Filter in Photoshop
Before adding the sepia filter to your selected paradigm, yous'd first demand to catechumen it to a black and white or monochromatic image. You tin practise then by desaturating your image or calculation the black and white adjustment layer to information technology. Here's how you lot can do that.
1. Desaturate Epitome for a Monochrome Wait

Open your selected prototype in Photoshop and click on the Paradigm drib-downwards menu and choose the Adjustments option. From the side bill of fare, select Desaturate. You tin likewise use the shortcut keys Shift + Ctrl + U on Windows or Shift + CMD + U on Mac. This manner, you will be able to convert your paradigm to monochrome speedily. However, this procedure will get out you with fiddling command over the results you obtain. Also, this method is considered destructive because y'all won't exist creating any new layer for editing. If you lot desire your edit to be non-subversive, you can try the aligning layer method mentioned below.
2. Add Blackness and White Adjustment Layer
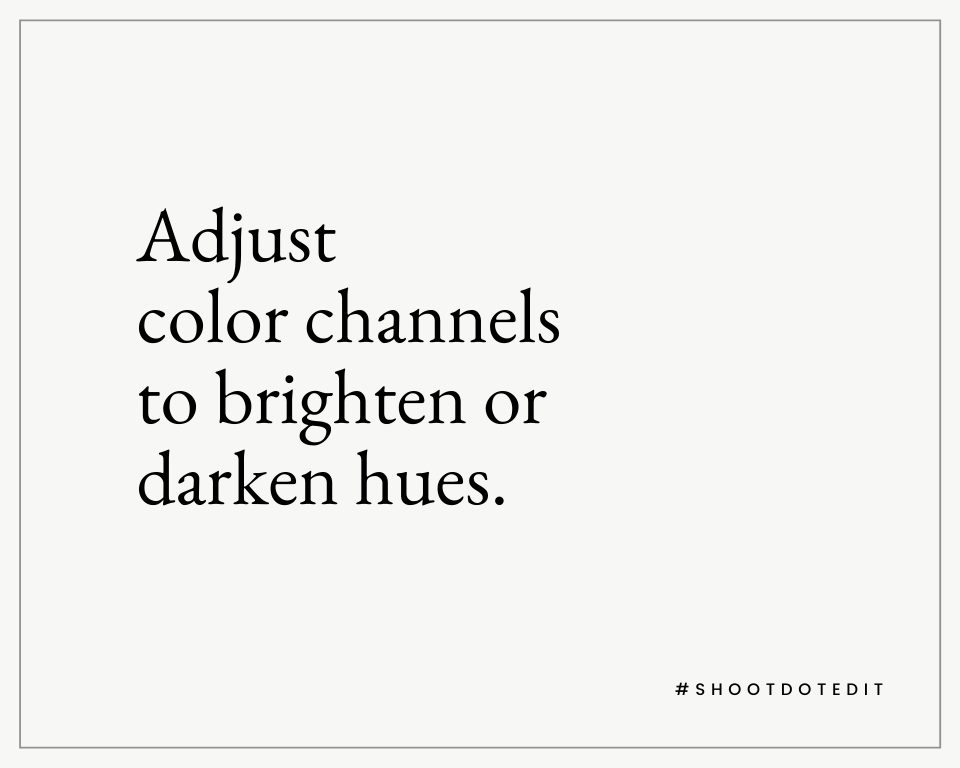
To add the black and white adjustment layer, go to Layer and click on the New Adjustment Layer choice. From there, choose Blackness and White. You will get a monochromatic version of your image, but Photoshop will likewise allow you to make changes to each colour channel. If yous want, you tin burnish or make the reds or blues in your chosen image darker. The difference between the ii methods of desaturating your epitome will depend on the colors in your image and how much you lot adjust them.
Related Read: Black And White Images That Volition Inspire You
three. Utilize Sepia Filter Adjustment Layer

Once y'all've created a black and white epitome, you tin add a sepia tone to it. The Photo Filter Adjustment Layer is one of the almost popular methods of giving your images a sepia effect. Brainstorm by going to the Layer drop-down carte and and then click on the New Adjustment Layer selection. In the bill of fare that opens up, yous will see Photo Filter. Click on it and select the Sepia setting from the filter settings. To conform the strength of the tint, you tin can use the Density slider. If you don't similar the specific sepia tint, you can click on the Color button and select the colored square. From here, choose a unlike tint. If you want to brighten the whites, tick the Preserve Luminosity box.
4. Use Colour Fill Layer
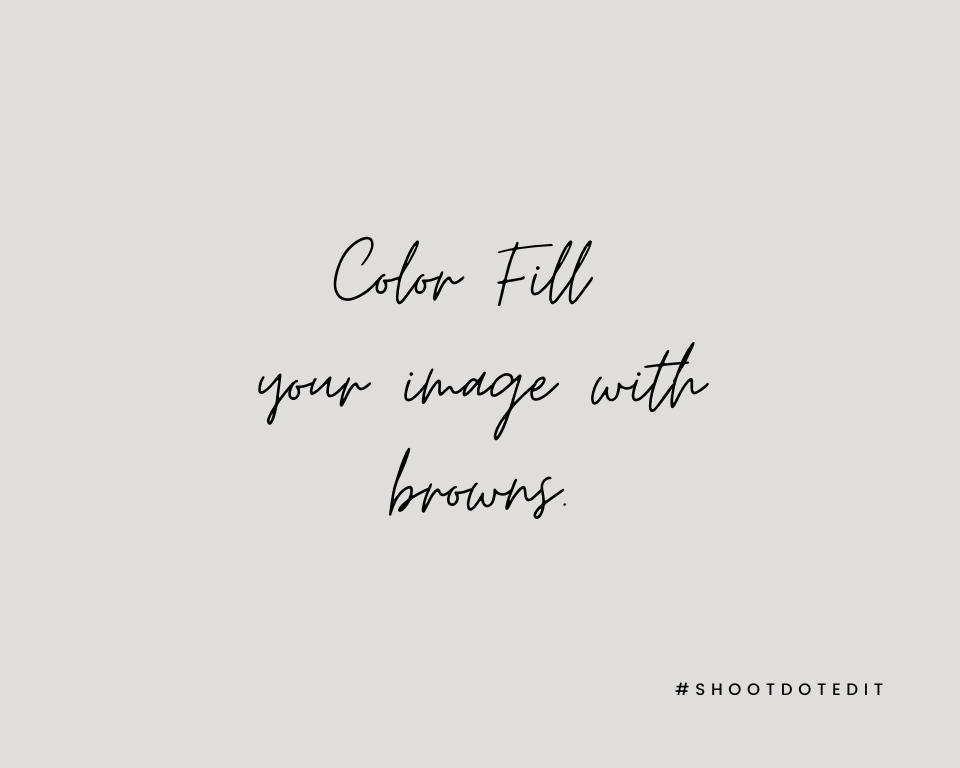
Y'all can apply a Color Fill up layer to your selected prototype to add a sepia tone to it. To do then, you'd demand to go to the Layer choice and then select New Fill Layer from the drib-downwards card. Here, you can choose Solid Color, click OK and pick a brown shade of your choice. You tin experiment with unlike shades until you goose egg in on the one that gives your prototype that desired await. Next, select alloy mode to fine-tune the effect. Each blend mode will requite you a unlike await, and if you lot think the sepia effect you've got is too strong, yous can lower the opacity of the layer.
5. Work With Hue/Saturation Layer
You tin can also add the sepia effect to your image through the sepia preset in the Hue/Saturation adjustment layer. Click on the Layer choice in Photoshop and then, from the drop-down menu select the New Adjustment Layer. Now, go to Hue/Saturation. Here, in the Presets, you lot will see the Sepia option. Select it and you are done! If you aren't satisfied with the look of your image, you tin always accommodate the colour of the sepia, the saturation, and the exposure in your image.
6. Color Balance to Create a Sepia Tint

The Colour Balance aligning layer tin can also help you get the sepia effect in your image. Just like in the earlier methods, you'd have to become to the Layer selection and select the New Adjustment Layer once once again. From hither, you can pick the Color Remainder selection. At present, select the Midtones; reduce the yellow slider and raise the red slider, and y'all will come across the deviation. This way you lot will be able to fine-tune the color of your sepia. You can besides tint highlights and shadows to get the await you desire for your image.
Further Read: How To Apply Gradient Mapping For Creative Coloring In Photoshop
While the steps discussed above tin can help y'all add the sepia filter in Photoshop, the results may differ depending on the mix of yellows and reds you use to create the tint. However, both the Colour Fill and the Photo Filter methods can tint the whites in your epitome much more than the other methods. So, practice and experiment with the tools to cull the one that suits y'all best and helps you give the perfect sepia glow to your images.
At ShootDotEdit, we love helping you with tips and tricks that help yous excel as a wedding photographer. If you want to learn more photography-related techniques, you can check out our other blogs. Besides this, we offer professional photo editing services to match your style and lessen your workload. To learn more about our services, take a look at our pricing plans.
Source: https://shootdotedit.com/blogs/news/sepia-filter
Posted by: chungandutimmose1944.blogspot.com
0 Response to "How Do I Do Sepia In Photoshop"
Post a Comment